In anticipation of spending four days with Elaine Bolt at West Dean College, I decided it would be prudent to learn a little about the subject first. So I contacted Elaine and arrange to spend a day with Elaine Bolt at her studio in Brighton.
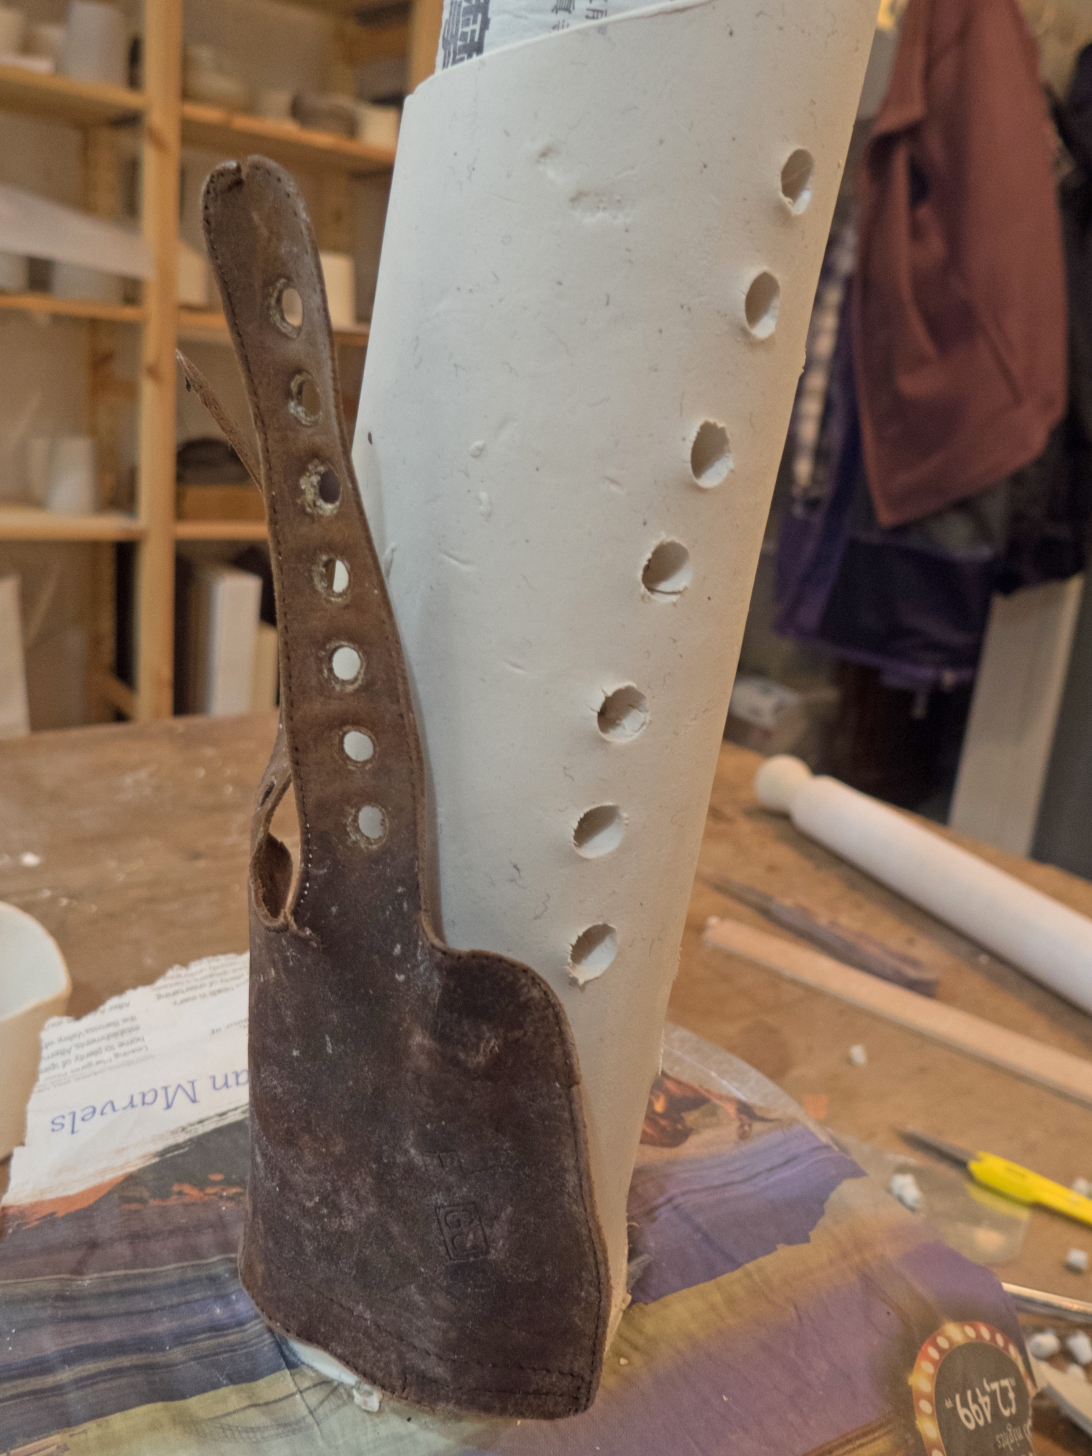
I had a wonderful time! Elaine was a lovely lady and a great teacher who allowed me to run with the ideas that I had. I wanted to use some of my found materials and incorporate them with ceramic. First of all, I had the idea of using a piece of boot leather that I had found at Eastbourne. I like the way it was twisted, I liked the holes and I liked the patina of the sea-salted leather. I decided to form a vase and wrap the leather around it. I chose porcelain here so that the white would contrast with the dark tones of the leather. Here it is ready to be fired with the leather alongside:
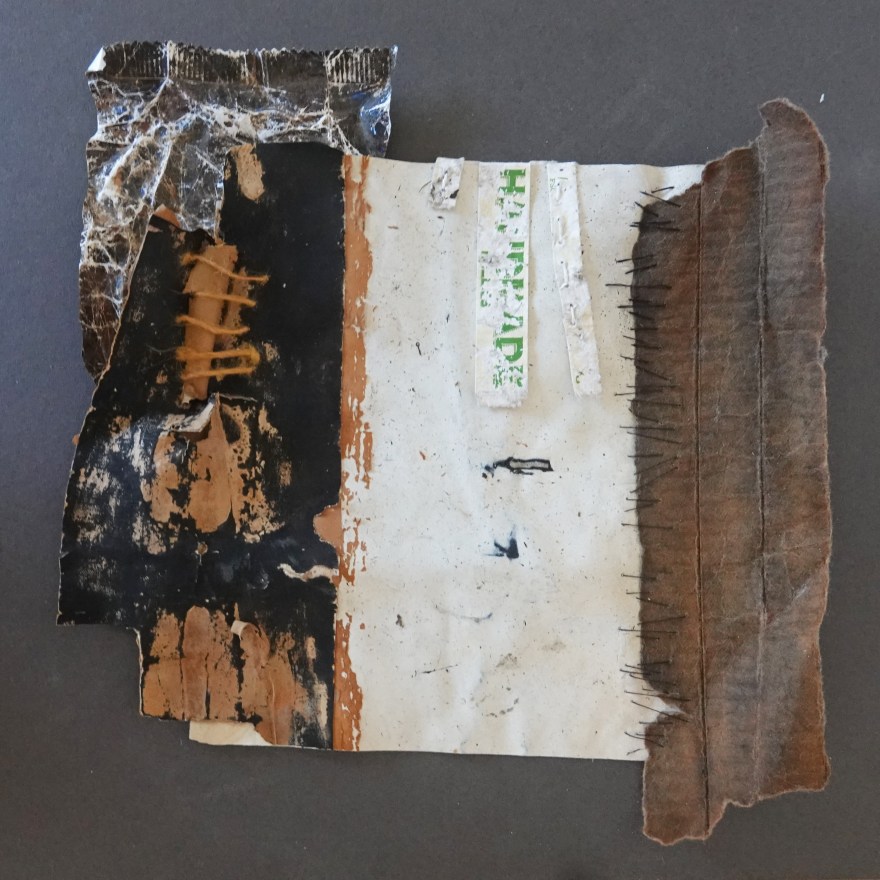
Another idea was to display a series of chip forks that I had found. Oddly, these were found all bound together in a ridged plastic sleeve. The fact that they had been squashed together meant that the action of the sea had made marks on the wood where the ridges had been. I made a plaque from stoneware and covered it with slip to darken it. Here it is with the forks (and an additional found piece) being auditioned to check the placement of the fixing holes. Once fired, the pieces can be added to the plaque with wire.

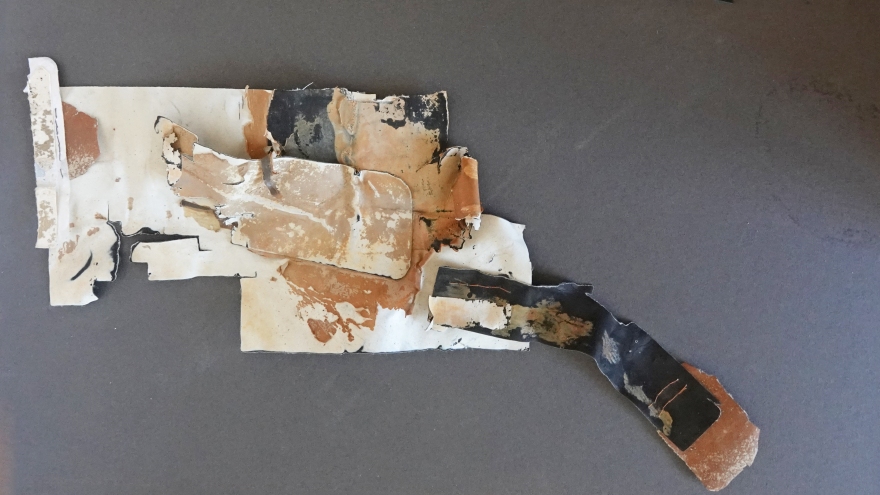
Finally, I had a lovely piece of rubber shoe sole! It’s lovely to me anyway!! I wanted to try and replicate the colour, pattern and texture of this piece in different ways – firstly with ceramic. This time I used a mixture of porcelain and stoneware to get the light and dark. Here is the original and the clay piece – the second is larger at this stage to allow for shrinkage in firing:

These are all interesting experiments. Elaine warned me that you can never be sure of the outcome and for a first timer, I guess I am particularly at risk but I look forward to being reunited with the fired pieces next week! Armed with a very small bit of knowledge (I realise that there is a huge amount to learn if I am to pursue this new area of interest) I can now plan what I would like to achieve during my next course. I think this idea has legs! Thank you Elaine!